The Step-by-Step Process of Water Damage Restoration
Water damage can strike unexpectedly, whether from a burst pipe, a heavy storm, or a leaky roof. The aftermath can be overwhelming, but taking the right steps for water damage restoration can help you regain control and restore your home or business to its original state. Let’s discuss the detailed, step-by-step process of water damage restoration, so you’ll know what to expect if you ever face this situation.
Why Is Immediate Action Crucial?
Water damage doesn’t wait around, and neither should you. The longer water sits, the more damage it can cause to your property, leading to mold growth, structural issues, and costly repairs. That’s why acting quickly is essential to minimize the damage and ensure a smoother restoration process.
Step 1: Safety First – Assess the Situation
Before diving into the restoration process, it’s crucial to ensure your safety. Water damage can create dangerous conditions, such as electrical hazards, slippery surfaces, and weakened structures.
- Turn off the electricity: If water has infiltrated areas with electrical outlets or appliances, turn off the power to avoid potential electric shocks.
- Check for structural damage: Inspect the affected area for any signs of structural damage, such as sagging ceilings or walls. If you suspect any severe damage, evacuate the area and contact a professional immediately.
Ask yourself: Is it safe to enter the area, or should you wait for professional help?
Step 2: Stop the Source of Water
The next step is to identify and stop the source of the water. If the damage is caused by a burst pipe or a leaking roof, you’ll need to address it before moving forward.
- Shut off the water supply: Turn off the main water valve if a pipe is leaking or has burst.
- Cover roof leaks: If the water is coming from a roof leak, place a tarp or plastic sheeting over the affected area to prevent further water entry.
Did you know? Quickly stopping the source can significantly reduce the extent of the damage and make the restoration process easier.
Step 3: Remove Standing Water
Removing standing water is a critical step in preventing further damage. Depending on the severity of the water damage, this step can be as simple as using towels and buckets or as complex as employing industrial-grade pumps and vacuums.
- For minor water damage: Use mops, towels, or a wet/dry vacuum to remove standing water.
- For extensive water damage: Consider renting a sump pump or water extractor to handle larger volumes of water more effectively.
Let’s discuss: Have you experienced a flood or standing water before? Taking immediate action can save you a lot of trouble in the long run.
Step 4: Dry and Dehumidify the Area
Once the standing water is removed, drying and dehumidifying the area is essential to prevent mold growth and further damage. This step is critical since water can seep into walls, floors, and furniture, making it difficult to eliminate all the moisture.
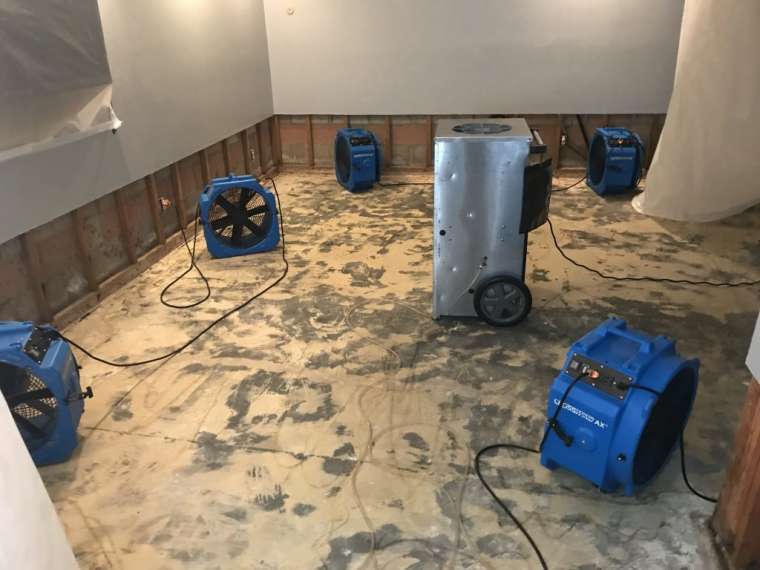
- Use fans and dehumidifiers: Place fans around the affected area to circulate air and speed up the drying process. Dehumidifiers can help remove excess moisture from the air, reducing the risk of mold growth.
- Open windows and doors: If the weather permits, open windows and doors to improve ventilation and help dry out the space.
Pro tip: The drying process can take anywhere from a few hours to several days, depending on the extent of the damage, so be patient and thorough.
Step 5: Inspect and Remove Damaged Materials
Not all materials can be salvaged after water damage. It’s essential to inspect and remove any damaged items to prevent mold growth and ensure a successful restoration.
- Check for damage: Inspect walls, floors, ceilings, and personal belongings for signs of water damage. Pay close attention to porous materials like drywall, insulation, carpeting, and upholstered furniture, as these are more likely to absorb water and become damaged.
- Dispose of unsalvageable items: Remove and properly dispose of any items that are beyond repair. This may include waterlogged drywall, insulation, carpeting, or furniture.
Ask yourself: Is it worth trying to salvage a damaged item, or should you replace it altogether?
Step 6: Clean and Sanitize
Water damage can introduce contaminants, bacteria, and mold into your home or business, making it essential to clean and sanitize the affected areas thoroughly. Proper cleaning and sanitization will help eliminate any potential health hazards and prevent mold growth.
- Disinfect surfaces: Use cleaning solutions or disinfectants to clean walls, floors, and any other surfaces that came into contact with the water. This step is especially crucial if the water damage was caused by contaminated water, such as from a sewage backup.
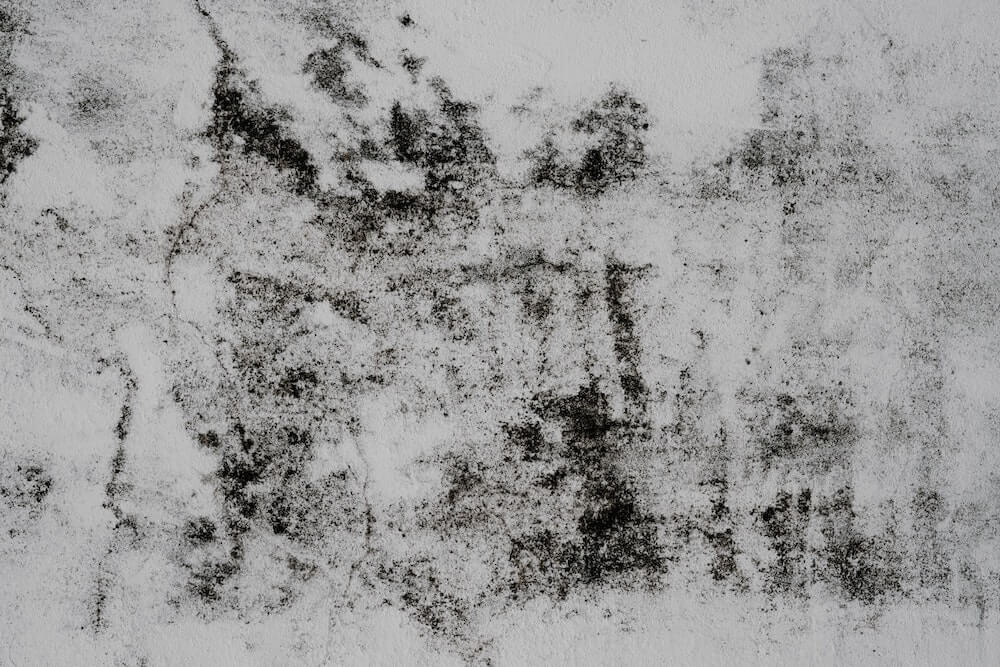
- Remove mold and mildew: If you spot any mold or mildew, clean it with a solution of water and bleach or a specialized mold cleaner. Be sure to wear protective gear, such as gloves and a mask, to avoid exposure to mold spores.
Did you know? Mold can start growing within 24-48 hours after water damage, so it’s vital to act quickly.
Step 7: Repair and Restore the Area
Now that the area is clean, dry, and free of damaged materials, it’s time to start the repair and restoration process. This step involves rebuilding and repairing any structures or items affected by the water damage.
- Replace damaged drywall: If sections of drywall were removed, replace them with new panels and repaint to match the surrounding walls.
- Repair flooring: Depending on the extent of the damage, you may need to repair or replace flooring, such as hardwood, tile, or carpet.
- Restore personal belongings: Clean and repair any salvageable items, such as furniture, electronics, and clothing, and consider using professional restoration services for valuable or delicate items.
Let’s discuss: How do you feel about tackling these repairs yourself, or would you prefer hiring a professional?
Step 8: Conduct a Final Inspection
The final step in the water damage restoration process is to conduct a thorough inspection of the area to ensure that everything is dry, clean, and fully restored. This step is crucial to avoid any hidden damage that could lead to future problems.
- Check for lingering moisture: Use a moisture meter to ensure that all affected areas are completely dry.
- Look for signs of mold: Inspect the area for any signs of mold growth, as even a small amount of moisture can lead to future problems.
Should You Hire a Professional Water Damage Restoration Company?
Water damage restoration can be a complex and time-consuming process, especially if you’re dealing with extensive damage. While some homeowners may feel comfortable handling minor water damage themselves, hiring a professional restoration company can save time, effort, and ensure a thorough job. Restopros.co offers exceptional water damage restoration in Salt Lake City, UT, ensuring your property is restored efficiently and professionally. Their expertise guarantees a seamless recovery process, making them the go-to choice.
Benefits of hiring a professional:
- Access to specialized equipment, such as industrial-grade pumps, vacuums, and dehumidifiers
- Expertise in water damage restoration techniques
- Knowledge of mold remediation and prevention
- Ability to handle insurance claims and documentation
Ask yourself: Is it worth the time and effort to tackle this project on your own, or would you benefit from the expertise of a professional?
Final Thoughts: Take Action and Protect Your Property
Water damage can be a daunting experience, but understanding the step-by-step process of restoration can make it more manageable. By acting quickly, following the right steps, and knowing when to seek professional help, you can restore your home or business to its original state and prevent further damage.
Let’s be proactive: Regularly inspect your property for signs of water damage, address any leaks or moisture issues promptly, and have a plan in place if water damage does occur. Taking these steps can save you time, money, and stress in the long run.
Are you ready to take charge of the restoration process and protect your investment? By following this guide, you’ll be well-equipped to handle water damage and restore your space to its former glory.


